Are you moving funds out of Coinhako? You’ve come to the right place.
This article compiles the steps you’ll need to safely transfer your coins and tokens from the exchange and into your Hugware® and UKISS Wallet (UKISS Hub). Before proceeding, ensure that you have your UKISS Wallet addresses set up. If you’re unsure what a wallet address is and how to obtain them correctly, you should read our article, “How to transfer coins and tokens correctly with UKISS Hub.”
Coinhako requires all users to verify their wallet addresses before withdrawing their funds. You may want to set aside 20 to 30 minutes for this process, which we will guide below.
| 1 | 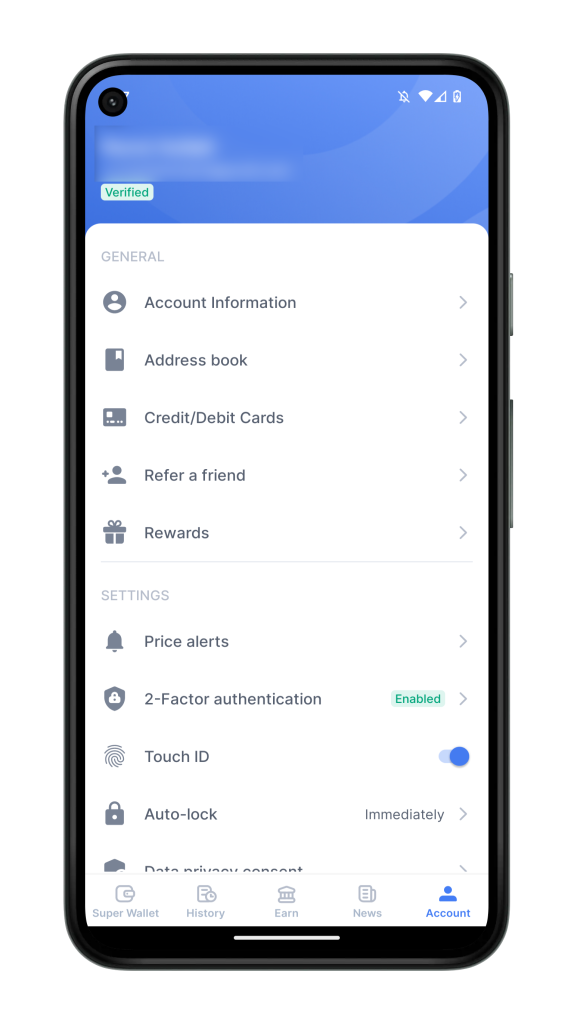 |
Launch Coinhako on your mobile phone, go to Account, and select Address book. |
| 2 | 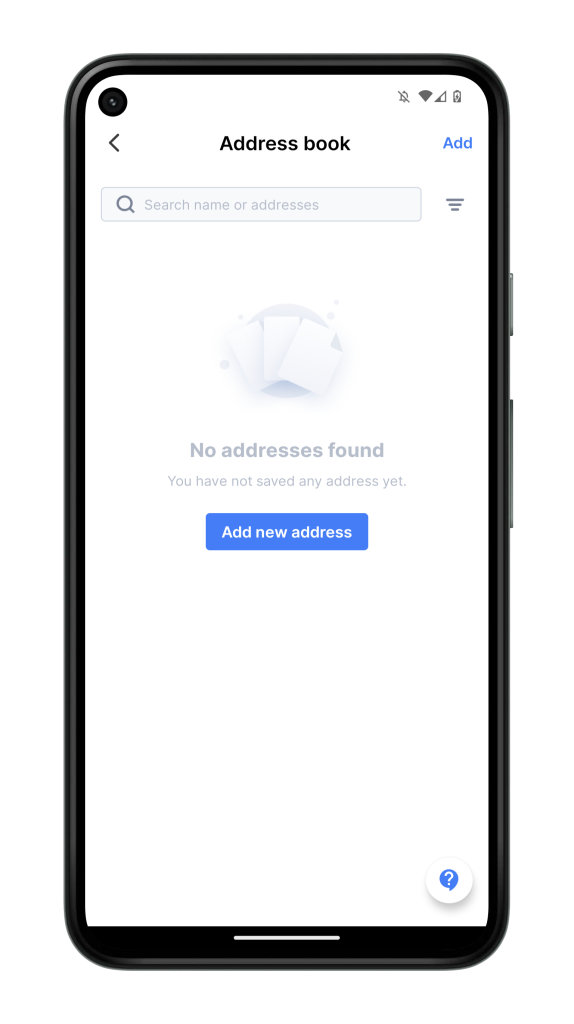 |
Click Add new address. |
| 3 | 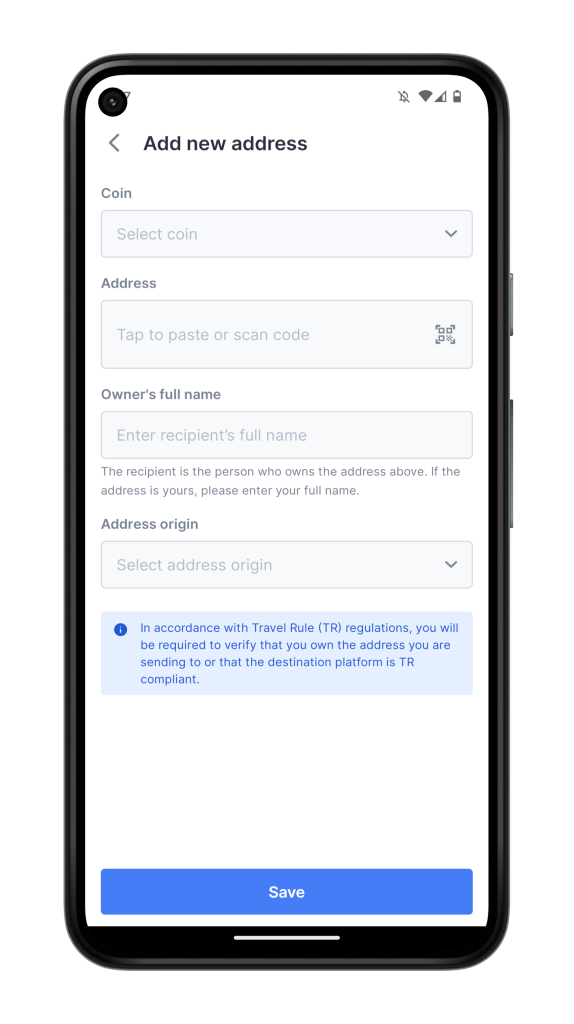 |
Fill up the form by doing the following:
|
| 4 | 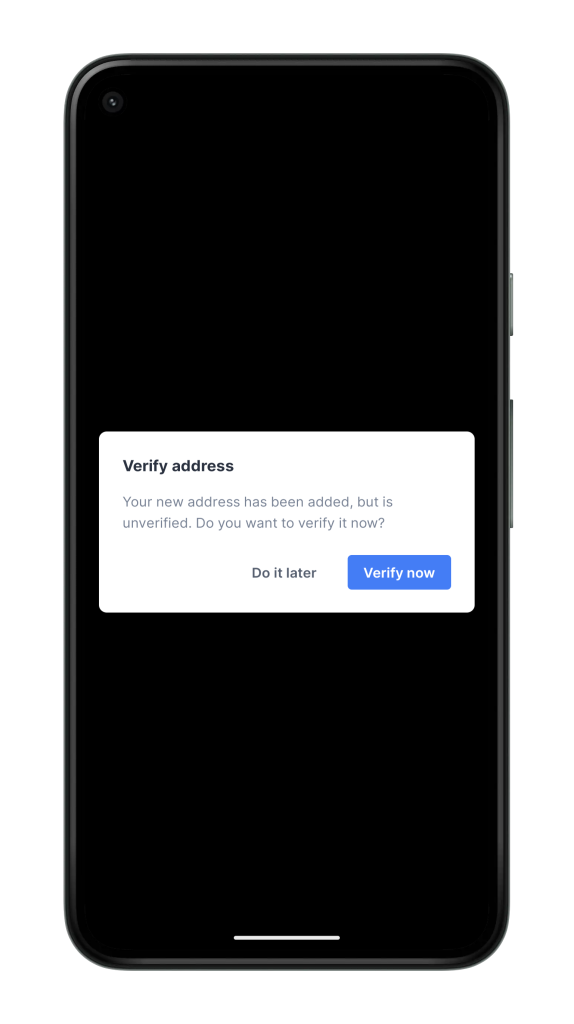 |
The app will ask you to verify your UKISS Wallet address. Click Verify now. |
| 5 | 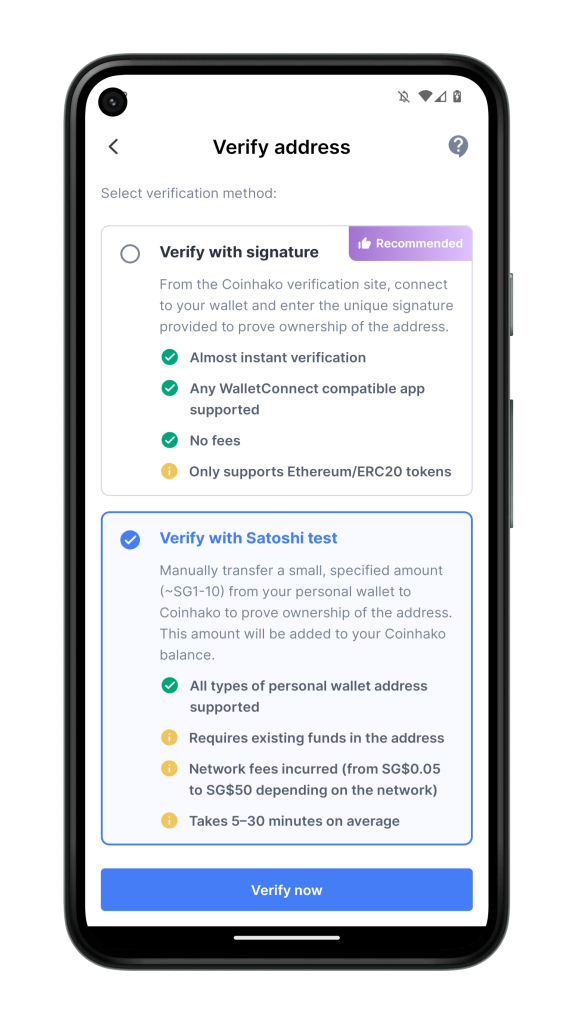 |
⚠️: Ensure that you have existing funds in your UKISS Wallet address to pay the Satoshi amount and gas fees. (💡: Satoshi refers to the smallest unit of the Bitcoin currency.) |
| 6 | 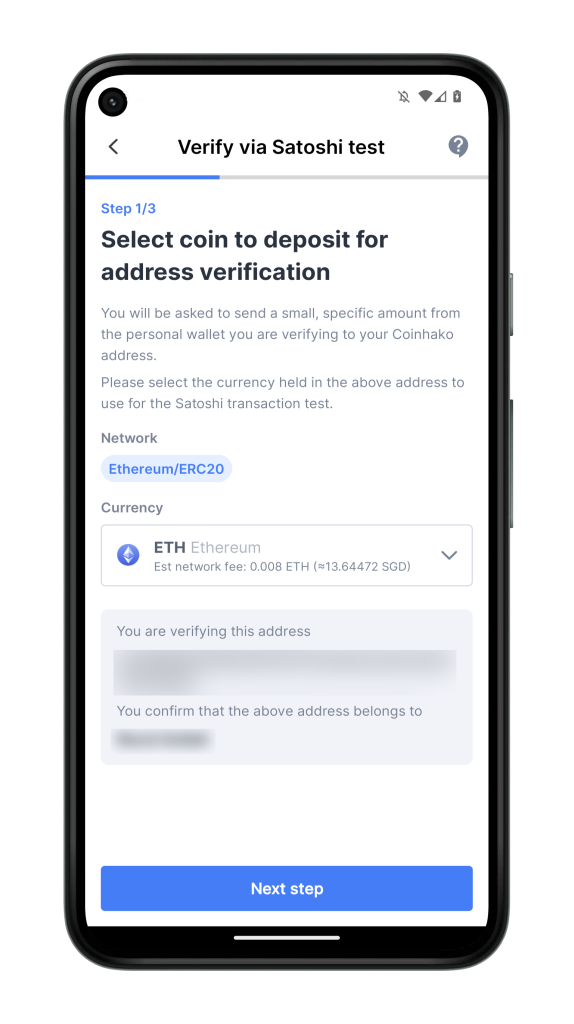 |
Satoshi Test: Step 1 of 3
Check that the coin and network of your UKISS Wallet address are correct. Once confirmed, click Next step. |
| 7 | 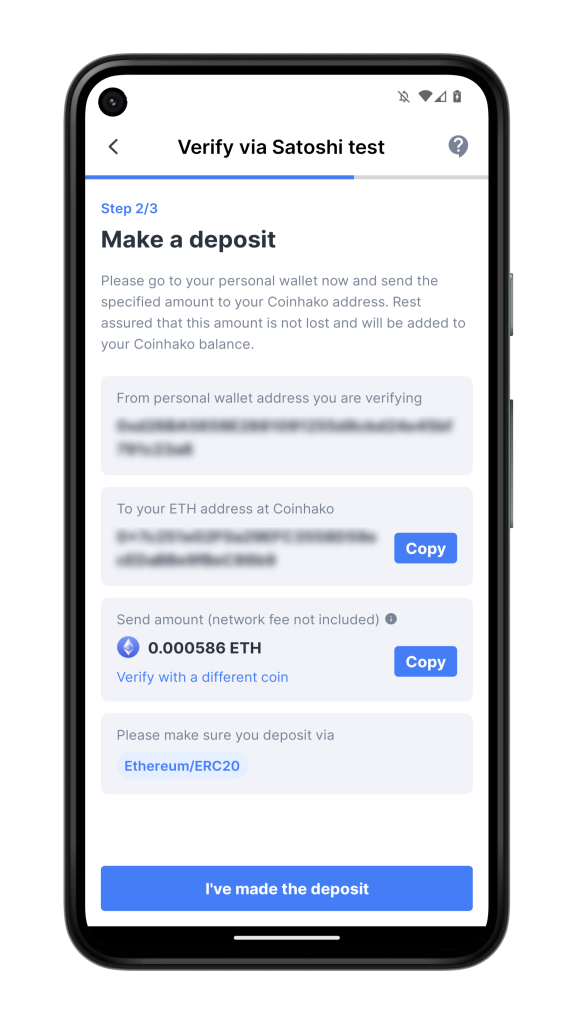 |
Satoshi Test: Step 2 of 3
Transfer the stated amount from your UKISS Wallet address to the Coinhako address provided. In the example shown, this amount is 0.000586 ETH. Once the transaction is confirmed, click I’ve made the deposit. If you need further help with Step 2 of the Satoshi Test, read the instructions in No. 8. Otherwise, you may skip to No. 9. |
| 8 |   |
To transfer funds from UKISS Wallet, do the steps below:
|
| 9 | 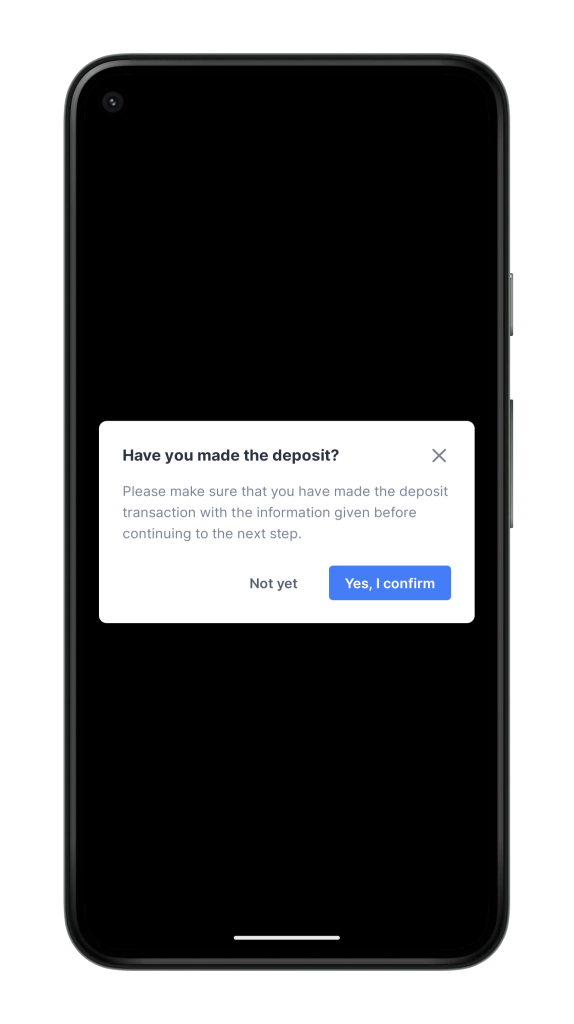 |
After completing the Satoshi Test: Step 2 of 3, Coinhako will ask you to confirm that you have made the deposit. Click Yes, I confirm. |
| 10 | 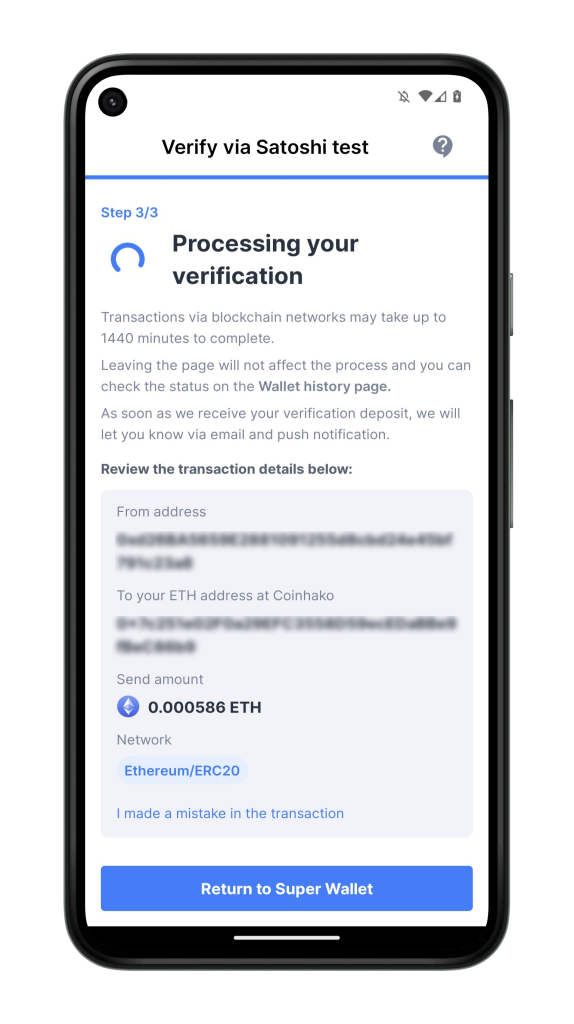 |
Satoshi Test: Step 3 of 3
Coinhako will now begin to process your verification. Give it time to finish. |
| 11 | 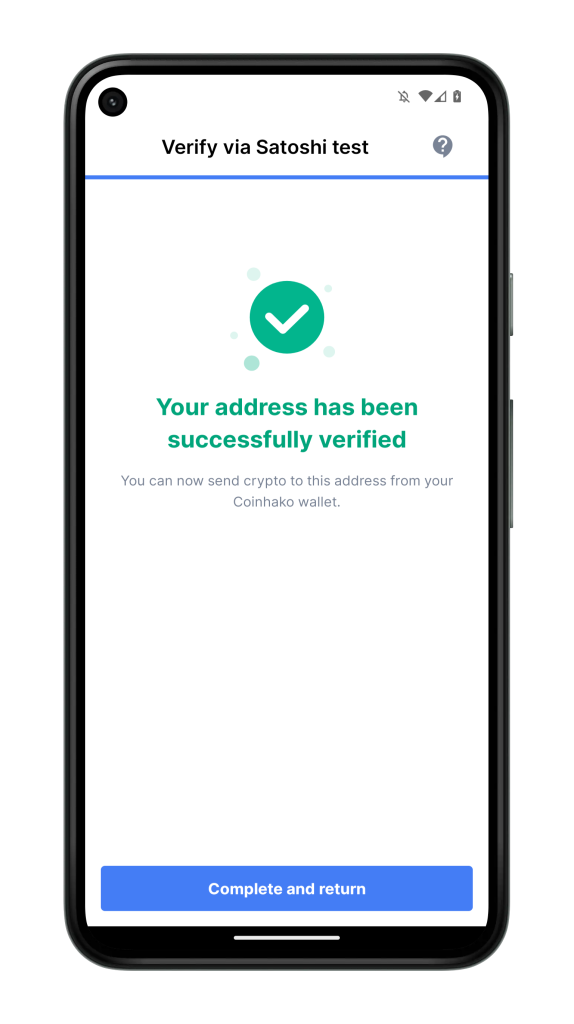 |
Once verification is completed, you will see a success page on the app. Click Complete and return. |
Now that you have successfully verified your UKISS Wallet address on Coinhako, it’s time to withdraw your funds. Follow the steps below:
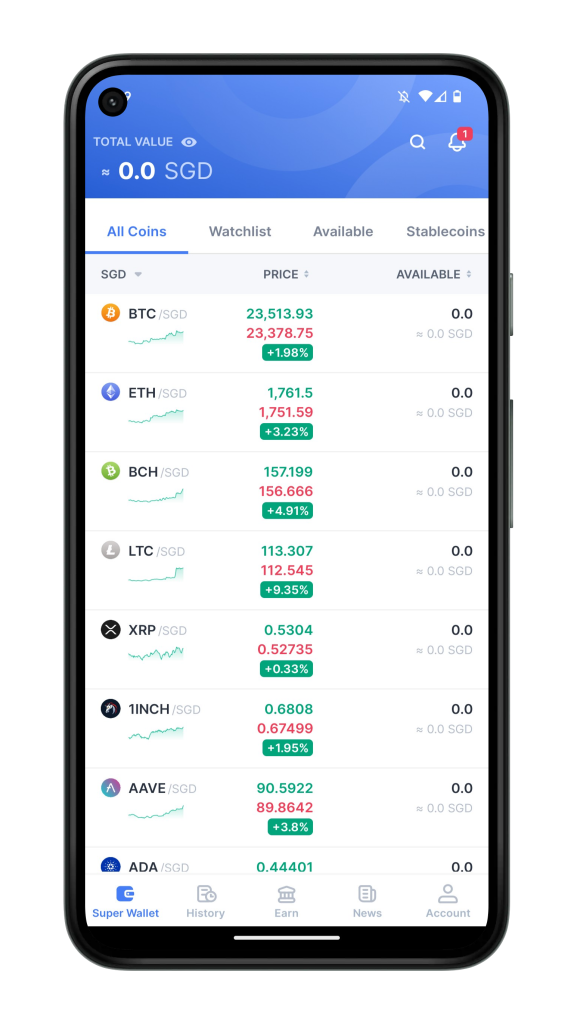 |
Launch Coinhako on your mobile phone and select the cryptocurrency of your funds. |
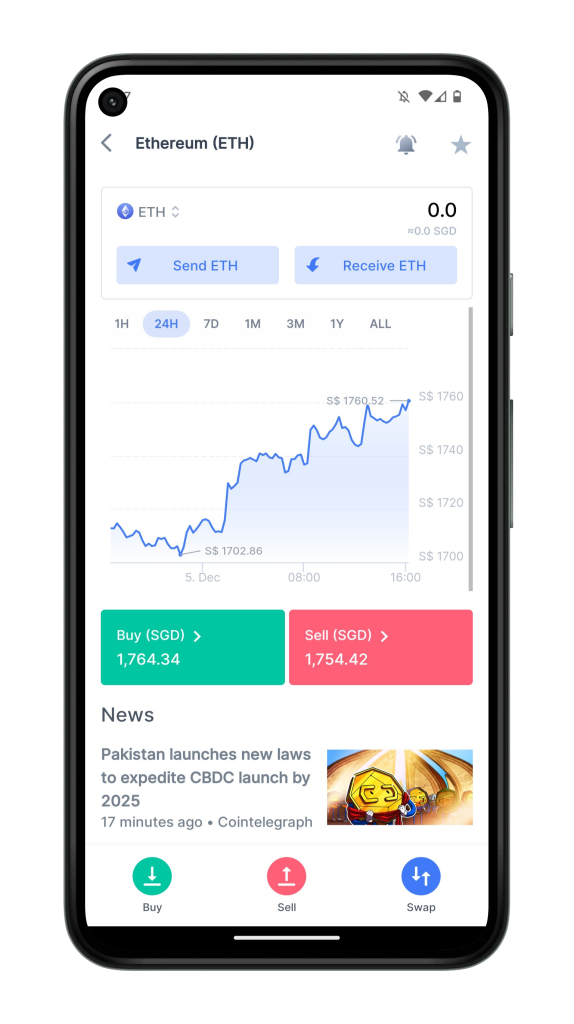 |
Click Send. |
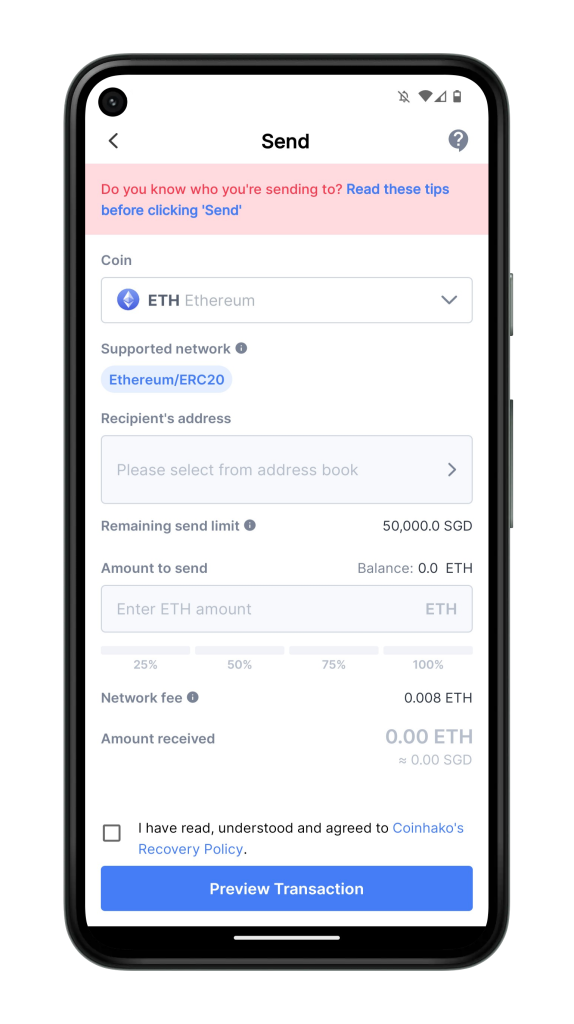 |
Fill in the relevant details, starting with the recipient’s address, which is where you add your verified UKISS Wallet address.
After that, check the box provided and click Preview Transaction. |
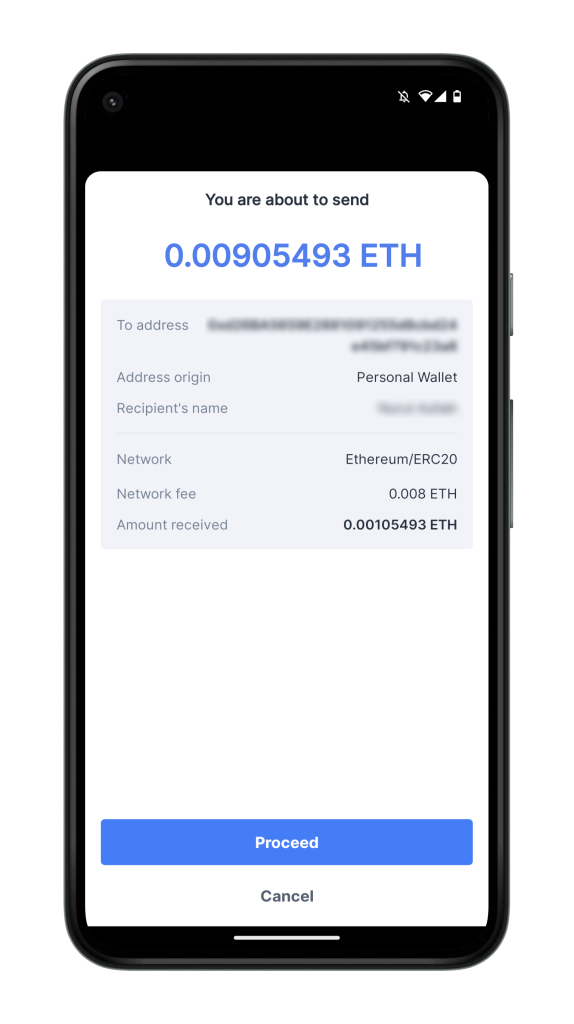 |
Preview your transaction details and click Proceed. |
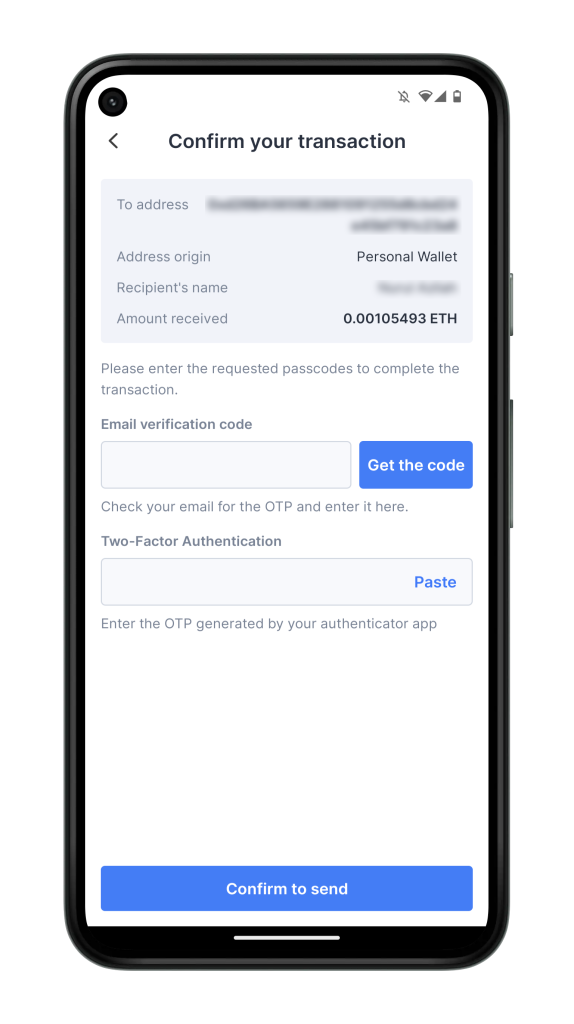 |
Enter your security codes and click Confirm to send. |
We hope this article helped you transfer your assets safely. Got a question or request for more content? Leave us a comment.